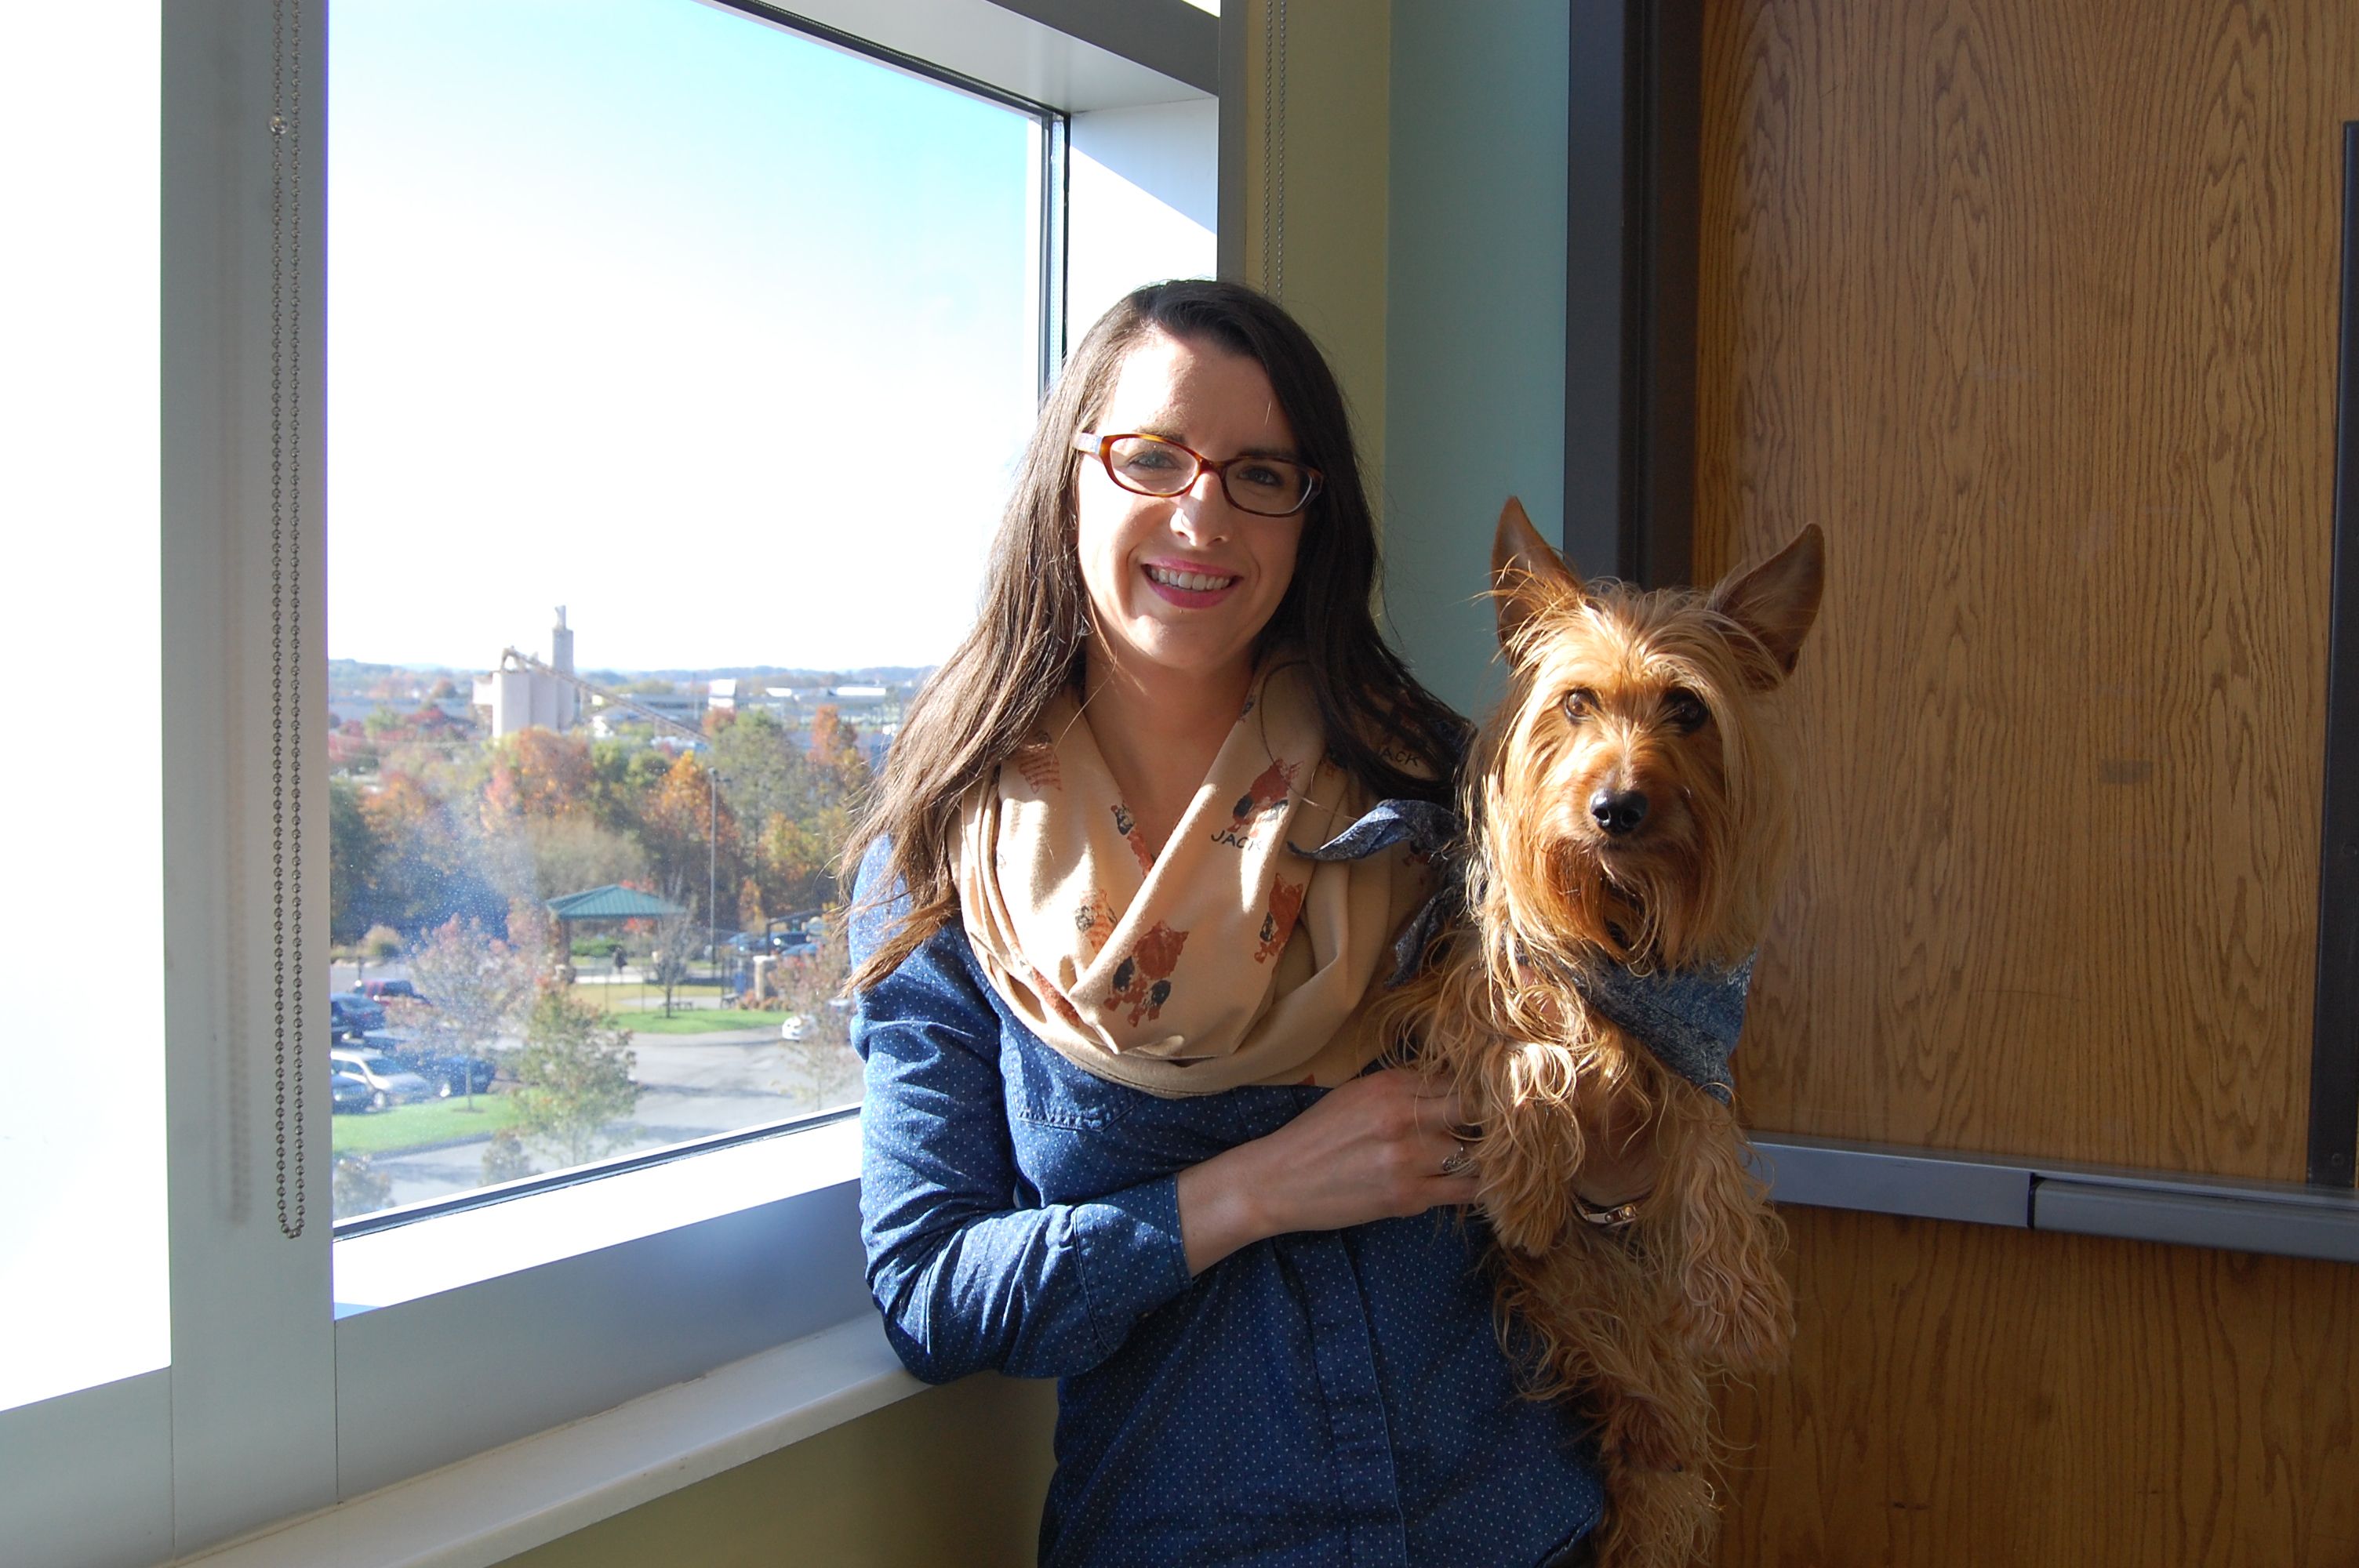
If you're like me, you might have a dog or cat breed that is uncommon. I am always bummed that I can’t find a cute clock or artwork with Australian Terriers. For this project, I was inspired by a cute silk scarf with Dalamatians all over it. What better way to prepare for the cold weather than a fun fall accessory? Read on to learn how to make your own personalized scarf with your pet on it. What you need: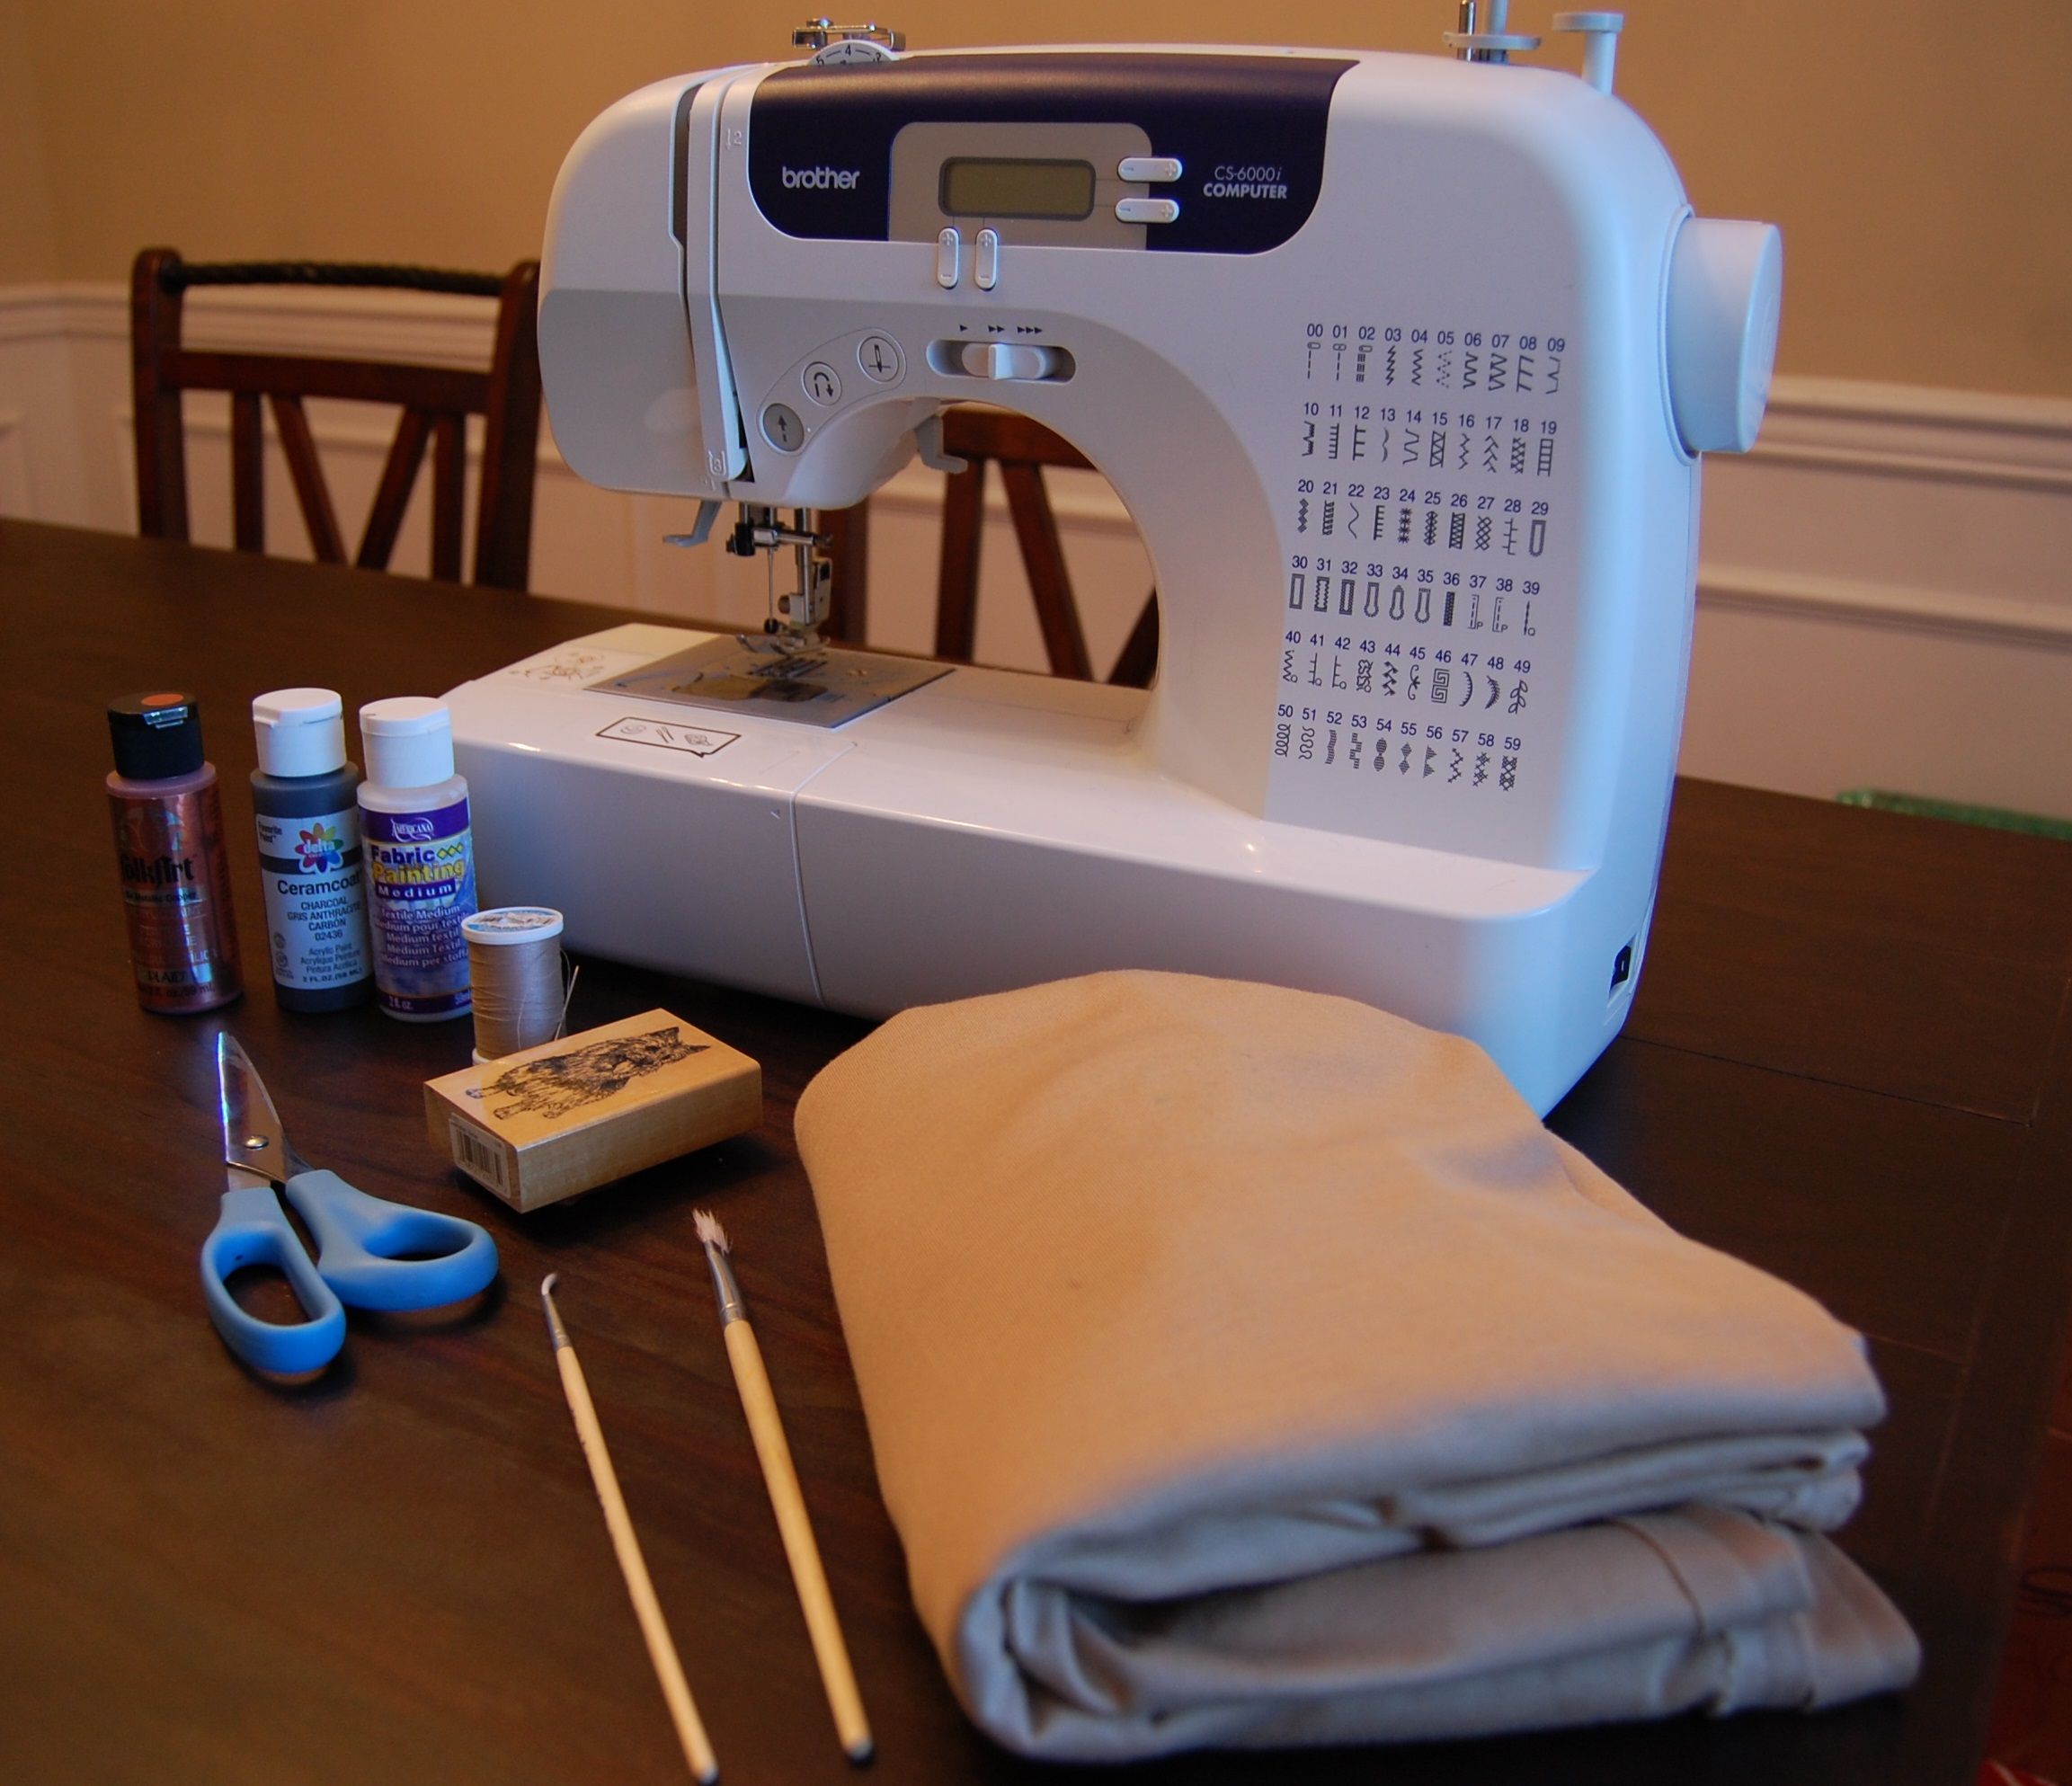
- Fabric of your choosing (I used a stretch jersey)
- Stamp in the shape of your animal Acrylic paint
- Fabric painting medium Paint brushes (optional)
- Needle and thread
- Sewing machine or liquid stitch
- Scissors
- Cardboard to protect your surface
1. Prepare your Fabric. 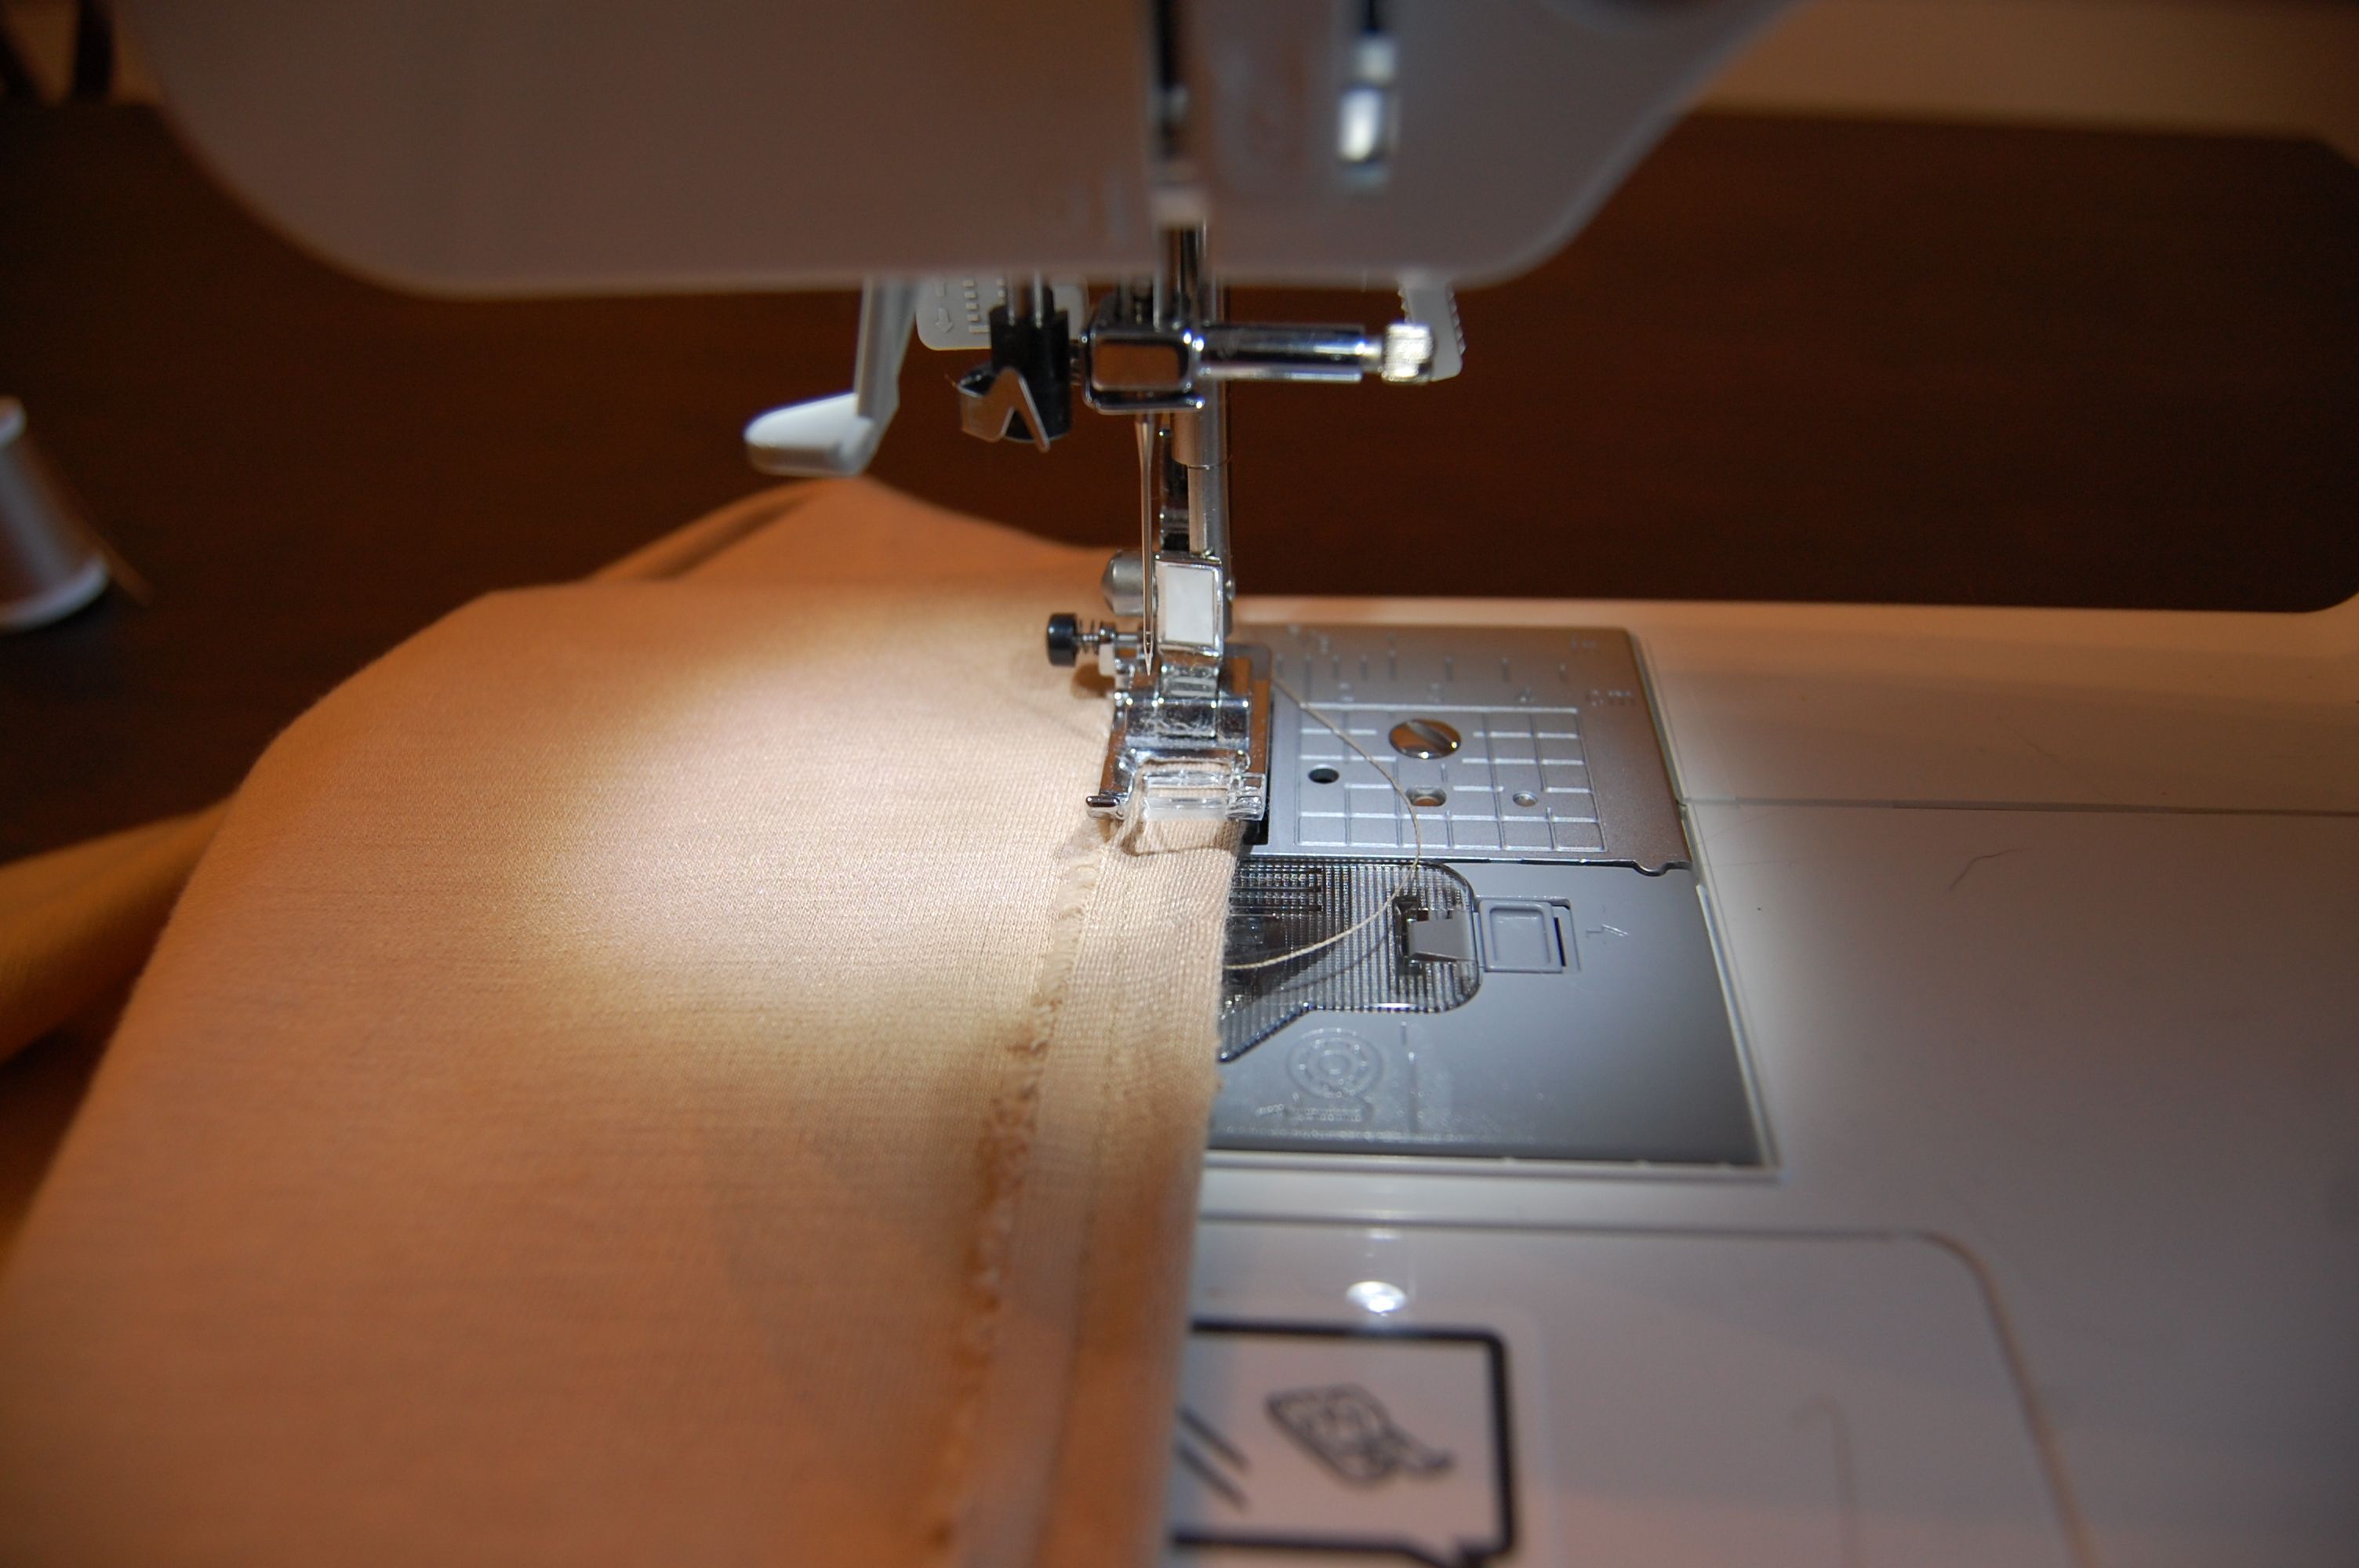 First, pick out a fabric you think is going to be cozy. I made mine in to an infinity scarf that wraps twice. The amount you need depends on how thick you want the scarf and how many times you would like to wrap it around your neck. Once you have cut it to your preferred length you will want to finish the edges (mine is about a foot and a half across and 3 yards long.) I sewed the length of the fabric on the sewing machine. An alternative for this step is using liquid stitch. If making an infinity scarf, don’t sew the short ends together yet! It is best to finish the long sides at this step so you know how far to the edges you can go with your stamping. Place your fabric on to the cardboard to prepare for stamping.
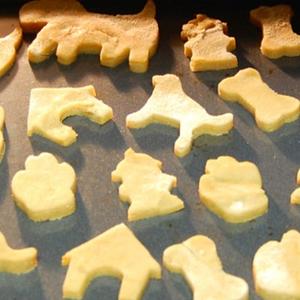
2. Stamping on your Image. 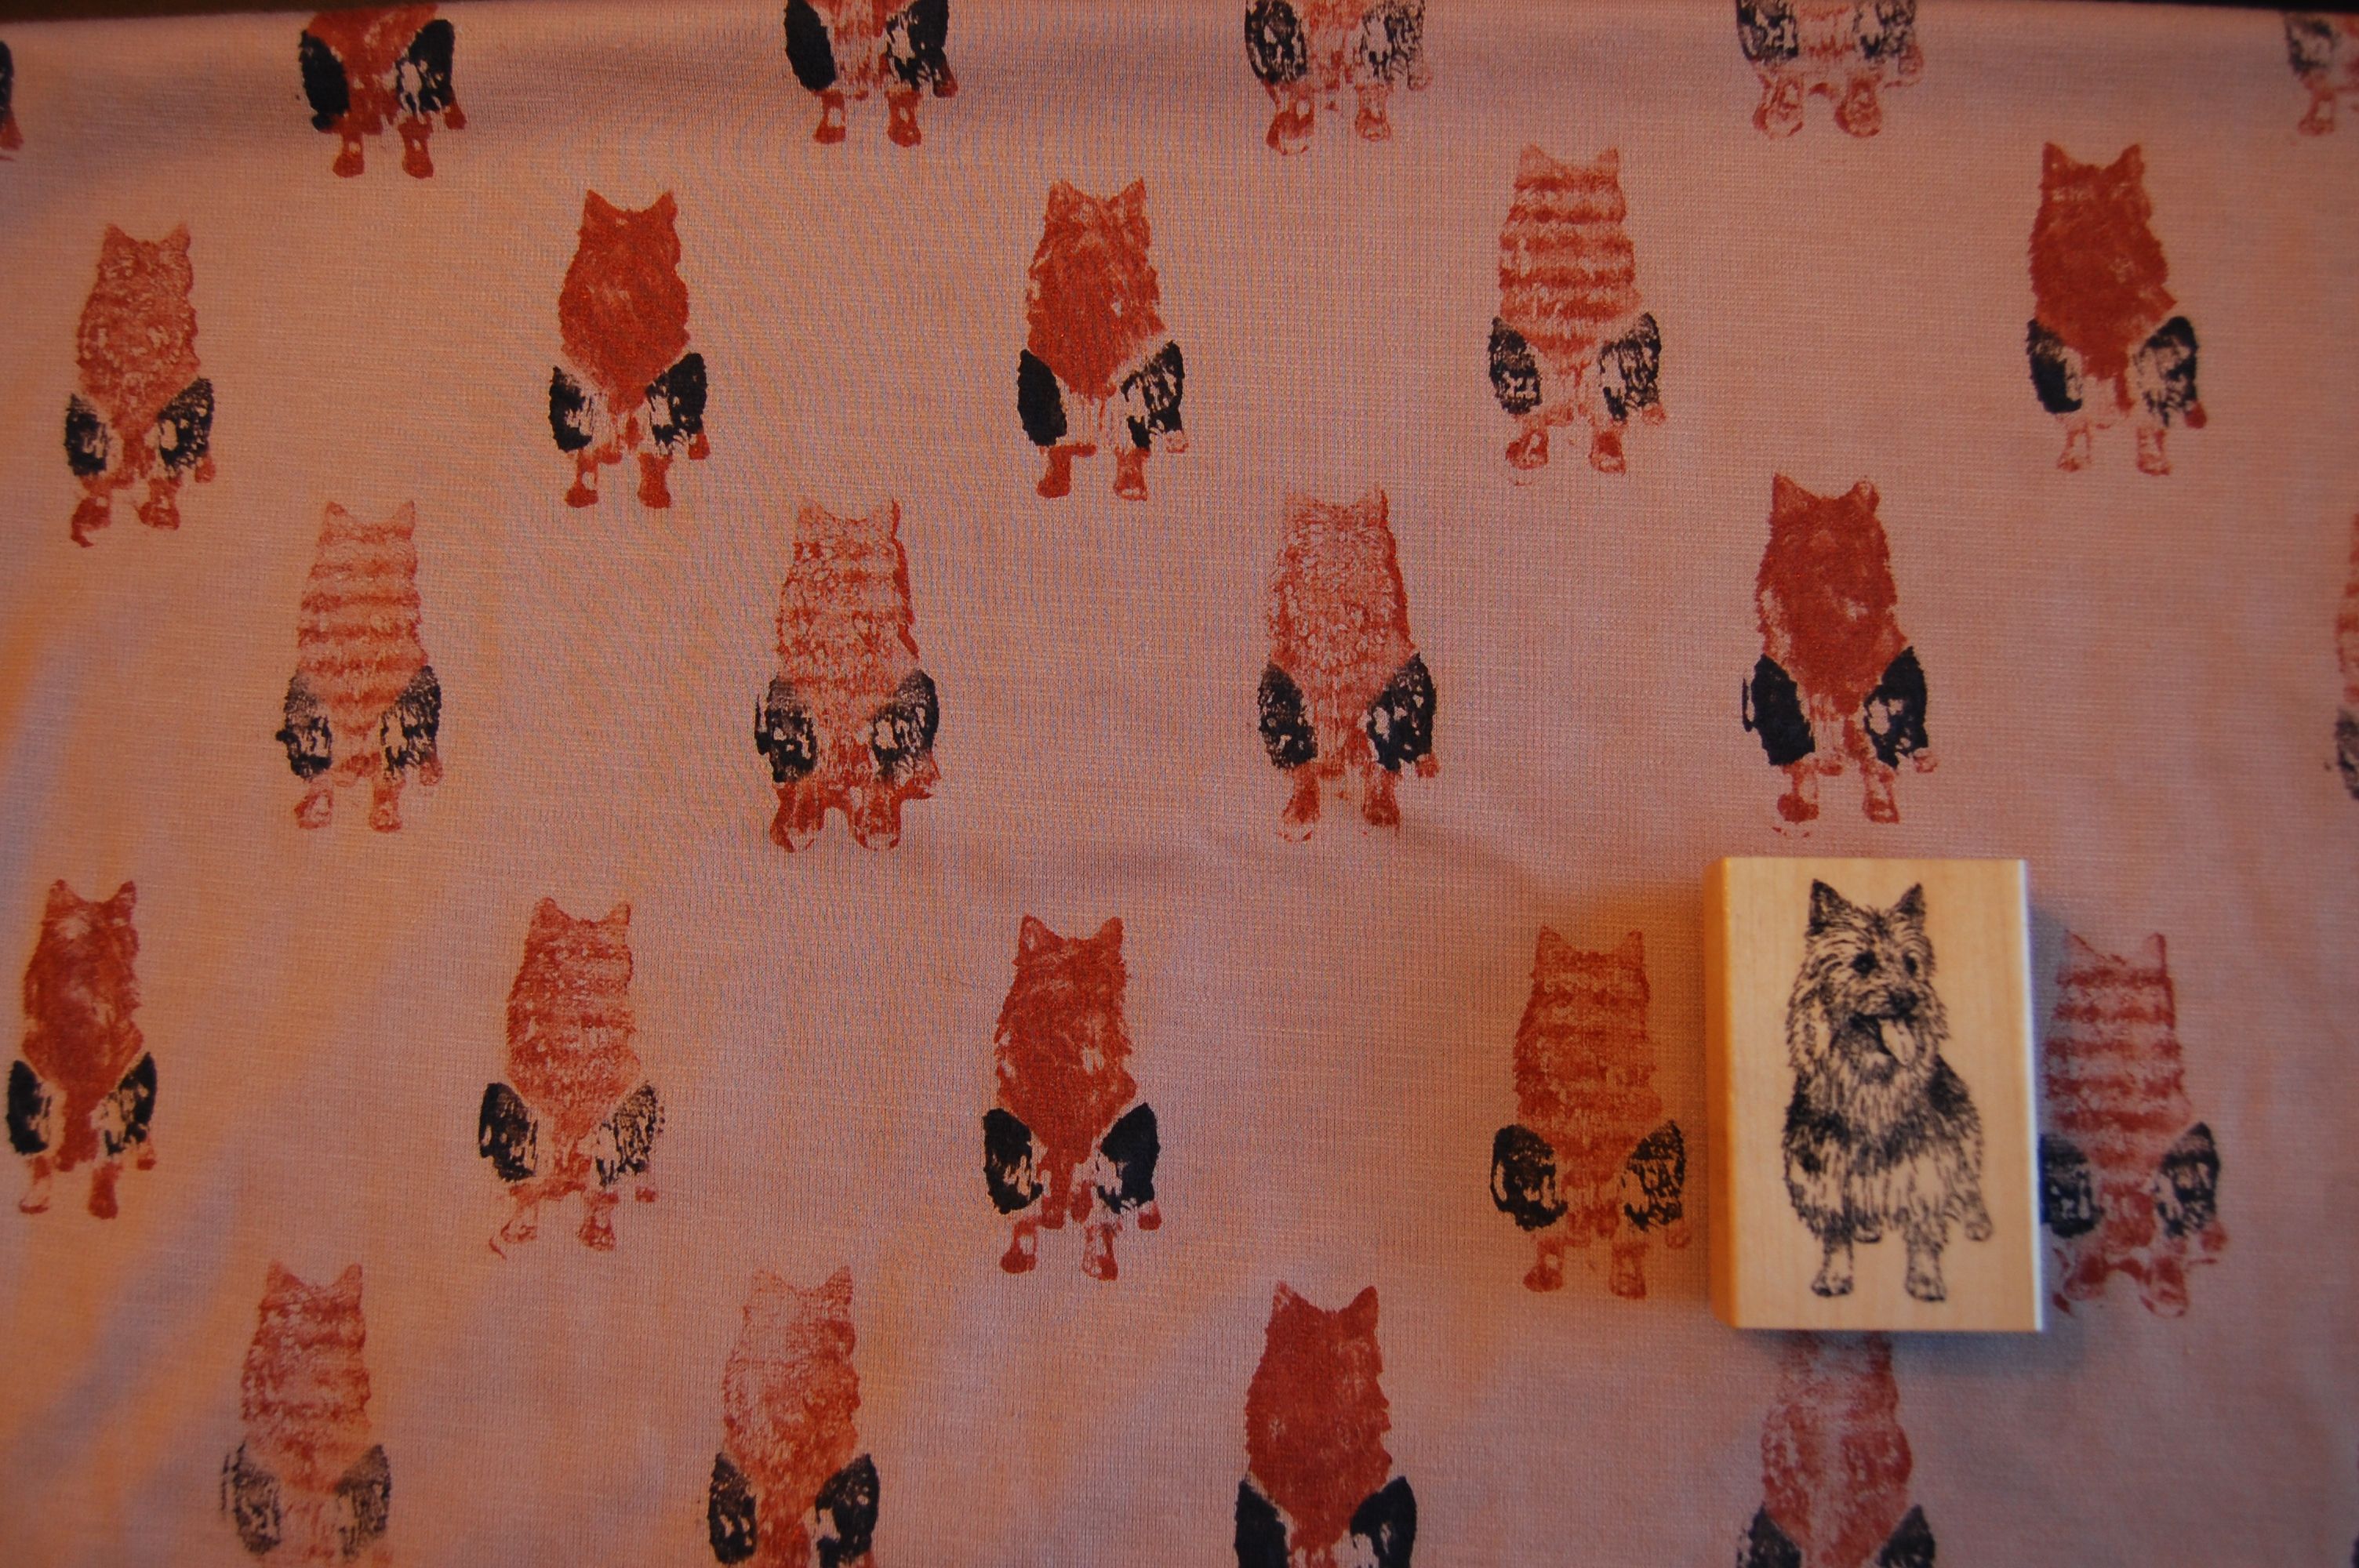 Jack's perfect match![/caption] I bought a stamp of an Australian Terrier from the Australian Terrier Club of America. However, as an alternative I could use a stamp of any terrier breed. Next mix each of your paint colors with the fabric medium per the bottle instructions. The medium will make your paint washable. Paint colors can be realistic shades of your pet or fun like pink or blue. Because I was attempting to make the scarf look like Jack, I used a charcoal color and a metallic copper for fun. I painted the acrylic and medium combination on to the stamp with brushes for accuracy and then pressed it on to the fabric. For one color, you can press the stamp directly in the paint. I was able to get 4 to 5 presses out of each paint application. As you can see, the details from the stamp did not translate on to the fabric, but that was okay with me! Also each pressing had a little less paint so I tried to distribute the stamp variations evenly through the rows. I eyeballed my stamping, but this could also be measured for accuracy. I continued on and covered the entire scarf with stamping.
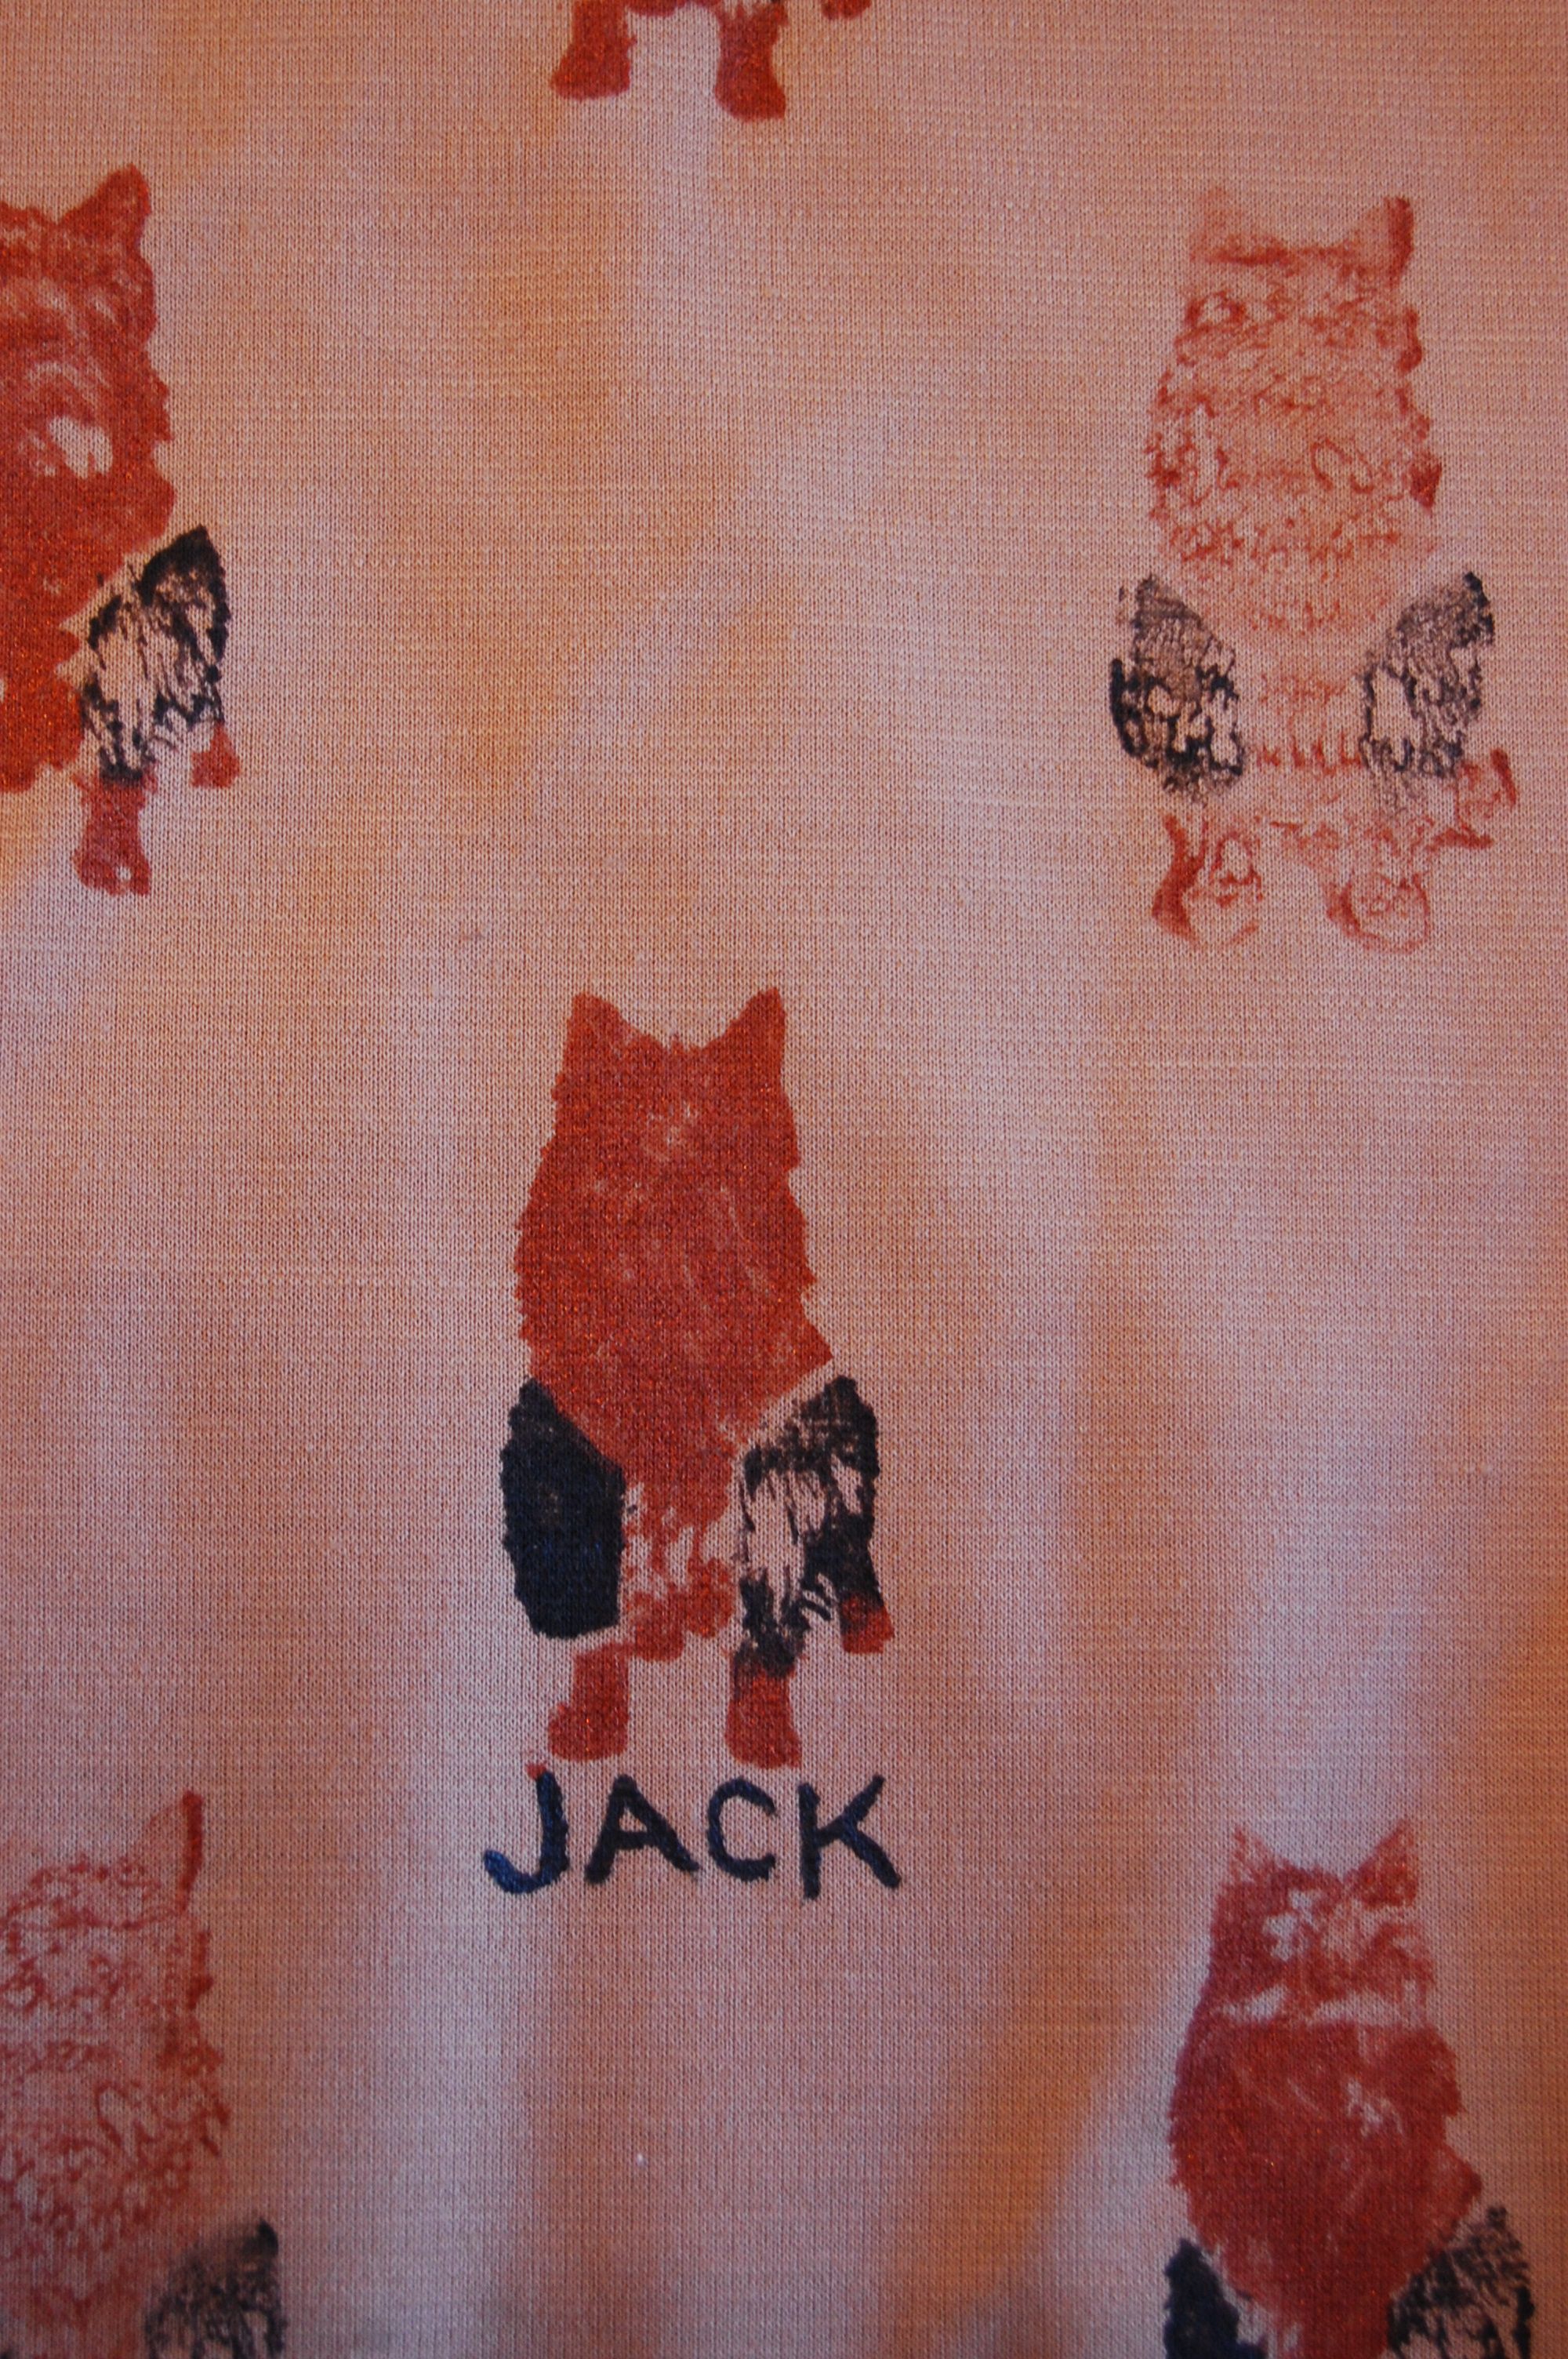
3. Personalizing Your Scarf. As a little something extra, I hand painted Jack’s name under a few of the images. I wore this scarf when competing with him in rally. This was before I had Lily, or I would have added her name too! Another idea would be to add cute words like “Woof” or “Meow.”
4. Finishing It Off. I let the paint dry for 24 hours before I sewed the short side together to make it an infinity scarf. I would not suggest liquid stitch for this end as it need to be sturdy to hang around your neck. Hand stitching is also an option for this last step. Heat set your fabric per the textile medium instructions. Now you’re done! The actual work time for this project is about 45 minutes plus the drying time. Now go out and stay warm in your new scarf!