By Sarah Folmar, Brand Communication Specialist
Remember the story of the grasshopper (or was it a squirrel?) who goofed off all summer while the ant (or was it a chipmunk?) stored up food for winter? Well, this year let’s all take a moment to become like the ant in this story (or possibly the chipmunk) and prepare our in-ground fences for the winter months! Now not all of us have hundreds of cans of food stored in our backyard sheds for apocalyptic scenarios, but we do take the occasional precautions when it comes to getting our houses and yards “winterized.” My yard can get rather slick if we haven’t removed all of the leaves before winter starts, but going outside with a leaf blower to remove the leaves usually just takes a few minutes. If you have an in-ground fence and have any issues with your wire, standing outside in the cold isn’t always a fun situation.
That’s why I’m here to help you prepare. Our durable wire can be left in the ground year after year, but pesky critters or anyone digging near your wire can cause an issue. If your wire is completely broken, your transmitter will let you know. Make sure to check to see if your loop light stays illuminated, otherwise it could indicate that you have an issue. If you are searching for a break in your wire after performing a short-loop test, one great tool to use for finding a complete break is our Wire Break Locator Kit. This tool allows you to walk over your wire in an effort to find the general location of the full break. This may not be a fun or practical solution in the middle of winter, and making sure your wire is in great shape before the colder months is a great way to avoid a potential hassle. Our kits come with 20-gauge wire. Some yards work fine with the 500-foot roll, but others could use a little (or a lot) extra.
If you are looking to add some space to your containment boundary area, make sure your splices are done correctly. If you already have parts in your boundary that were spliced together, you can always check these parts over time to ensure no corrosion has occurred. We recommend a waterproof splice kit, like the ones that are included with your system. You can also purchase extra wire, flags and a splice kit with our Extra Wire and Flag Kit.
Make sure that you are putting clean (not corroded) copper wire together when preparing to finish your splice. The two ends of your wire should be stripped of insulation about 3/8 of an inch, and then twisted together in a wire connector. Then these components can be inserted into our waterproof gel capsule. 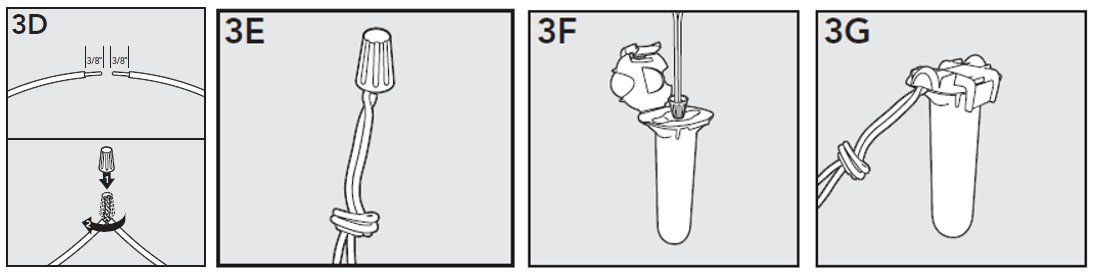 Our manual's illustration of a proper splice
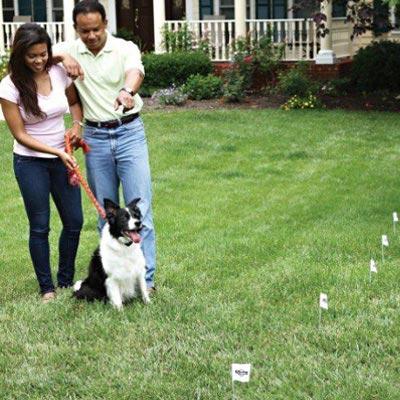
If you are planning on purchasing an in-ground fence soon, you may want to place your boundary flags in the yard before the colder weather approaches. Your ground will be a bit softer, and you won’t have to walk around too much on a chilly day while searching for your flag placement. Plus it will be easier to bury your wire with softer ground! Happy prepping!